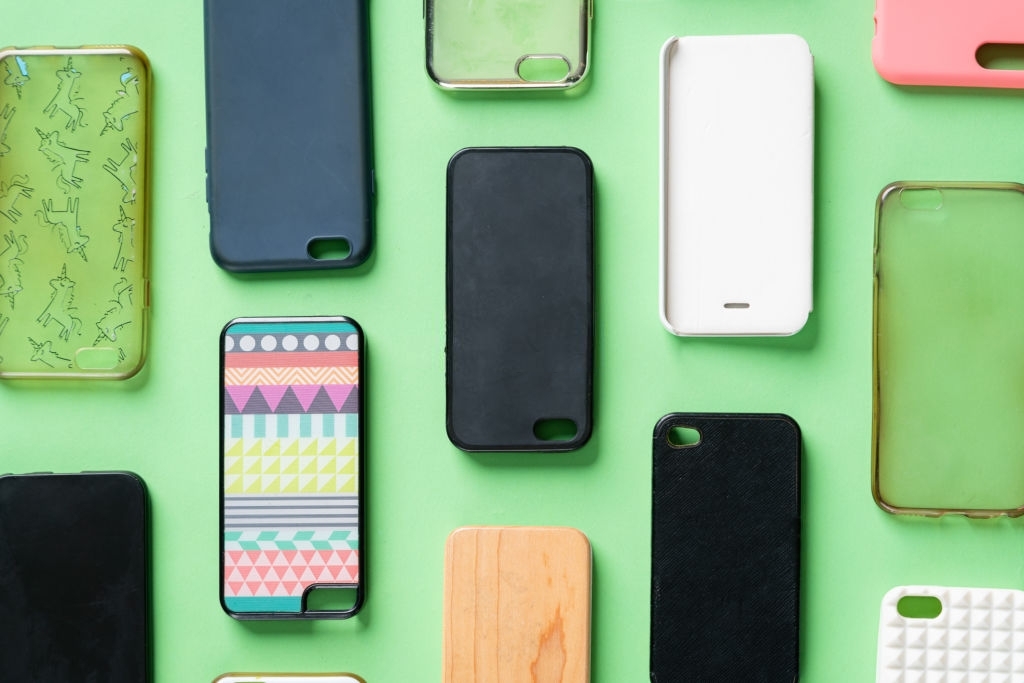
Cell phone cases come in all kinds of sizes and shapes, and sometimes it can be difficult (and expensive) to find one that fits your device. Fortunately, you can make one more easily than you might think with a glue gun or silicone and cornstarch. Read on to find out the answer to a frequently asked question on Google – how can I make my own phone case at home?
Method 1 – Make a hot glue shell
- Use a boss. If you want, attach one to the back of your phone. Since it is difficult to get a smooth case with hot glue, most people choose to make designs like arabesques or mandalas. You can make a pattern with freehand glue or transfer it. To trace it, prepare a pattern as follows.
Outline your phone on a sheet of paper. Draw the pattern of your choice with a felt tip pen, making sure it touches the edges of the phone. Cut out the pattern following the outlines. Attach it to the back of the phone with duct tape. - Protect the phone. Wrap it in parchment paper. Cut out a sheet about twice the size of the device. Place the phone on it with the screen facing up. Fold the side edges of the paper over the sides of the device and secure them with duct tape. Then fold up the top and bottom edges of the sheet and secure them also in place with adhesive tape. Tighten the paper as much as possible. Make sure the phone is turned off to prevent it from overheating. Be sure to tie the edges of the paper in place at the front of the machine (the side with the screen).
- Identify certain elements. Mark the position of the camera lens, sockets and buttons with a pen or colored pencil to avoid accidentally covering these parts with hot glue. Make sure the color of the pen or pencil is visible on the phone.
- Mark the openings to be left. Draw openings around the buttons, camera, jacks, microphone, and speaker that you marked out. If you cover them up, you will not be able to use your phone properly.
- Make the sides of the shell. Cover the sides of the phone completely with hot glue, making a very thick layer and avoiding covering the buttons and sockets.
- Fill in the back of the device. Since hot glue is not ideal for achieving a perfectly smooth surface, it is best to make a pattern. Whatever you do, make sure all the lines are connected to each other and to the sides of the hull.
- Mark the front. You can simply draw a line of hot glue all around the front of the device making sure it is stuck to the sides. If you prefer, you can also make a series of small dots that touch each other. This will form a rim for the shell to hold it in place on the phone.
- Remove the shell and paper. Let the glue dry. Once it has hardened, gently remove it from the phone, then remove the parchment paper. Put the case on the device to test it. If it covers an item like a button or socket, cut out the necessary parts with a utility knife.
- Paint the hull. Once you are satisfied, remove it from the phone and paint its outer surface with nail polish. Let the product dry. If you want the accessory to have a solid color, you can use spray paint instead of varnish.
Method 2 – Make a silicone case
- Protect the necessary surfaces. Put on plastic gloves and cover your countertop with plastic wrap or parchment paper to protect it. You can also work on a marble or glass slab. Try to work in a well-ventilated area, as silicone can smell strongly. The silicone used for this method is not the same as the hot glue.
- Measure out the ingredients. Pour cornstarch onto a flat, smooth work surface or into a glass bowl. Add a little transparent silicone. The dosage doesn’t have to be very precise, but there should be more cornstarch than silicone. Allow about 50 g (five tablespoons) of cornstarch and 30 to 40 g (two or three tablespoons) of silicone. Be sure to use transparent silicone. You can buy them at a home improvement store. It comes in a syringe. If you can’t find cornstarch, you can use cornmeal or potato starch.
- Add some color. It doesn’t have to be, but it’s a good way to make the phone case more interesting. If you don’t, the prop will just be white. Try adding a few drops of liquid food coloring, water-based paint, liquid stain, or acrylic paint to the ingredients.
- Mix the products. Work them by hand until the mixture forms a dough similar to bread dough. It will have to be kneaded about twenty times. You won’t incorporate all of the starch, but that’s okay. The mixture will be very crumbly at first. Just keep kneading it.
- Roll out the dough. Roll it out with a rolling pin, glass, wine bottle or spray paint to form a thin layer. Continue until the layer is slightly larger than your phone and is about 3mm thick.
- Lay the phone on the dough. Make sure its screen is facing up and centered over the dough so that roughly equal amounts are sticking out on either side.
- Fold the mixture. Fold the dough over the edges of the top face of the phone to cover its sides. Smooth it out by hand so that there are no creases or air bubbles. Try to do as careful a job as possible.
- Print designs (optional). If you want, turn the phone over and sprinkle cornstarch on the shell. Then print shapes using a stamp. You can also cut shapes from heavy cardboard to make personalized stamps. When you are finished, remove the tool. If you want to give the impression of a padded surface, allow the silicone to harden for about 10 to 20 minutes and then sprinkle the surface with cornstarch. Use a knife to draw oblique lines that cross each other forming diamonds.
- Let the mixture dry. Wait for the dough to set before removing it. The drying time depends on the type of silicone used and the weather conditions. It can take between 2 and 24 hours. Once the case is dry and firm to the touch (i.e., you cannot leave a fingerprint by pressing on it), remove it from the phone. If it’s powdery inside, wipe it off with a damp sponge.
- Cut off the excess. Remove excess dough from the front of the shell. It must cover the front of the telephone by 7 mm at the sides and by 1 cm at the top and bottom. You can also cut it by following the lines left by the groove between the screen and the sides of the phone.
- Clear the necessary parts. Look inside the hull. You will see small fingerprints left by the camera, flash, buttons, and sockets. Cut out these parts with a sharp knife. You can cut out a rectangle or trapezoid shape at the top or bottom at the speaker level instead of cutting a simple slit.
- Smooth the shell. Rub it with sandpaper to even out its surface. If desired, you can then apply a layer of pure silicone over it and smooth it out with a paint spatula or ice cream stick.
- Color the shapes. If desired, fill in the imprints with nail polish. Choose a color that goes well with that of the shell. Metallic colors like silver are particularly effective.
You can also shape individual silicone shapes, let them dry, paint them with nail polish and glue them to the shell with a clear silicone dot.
